

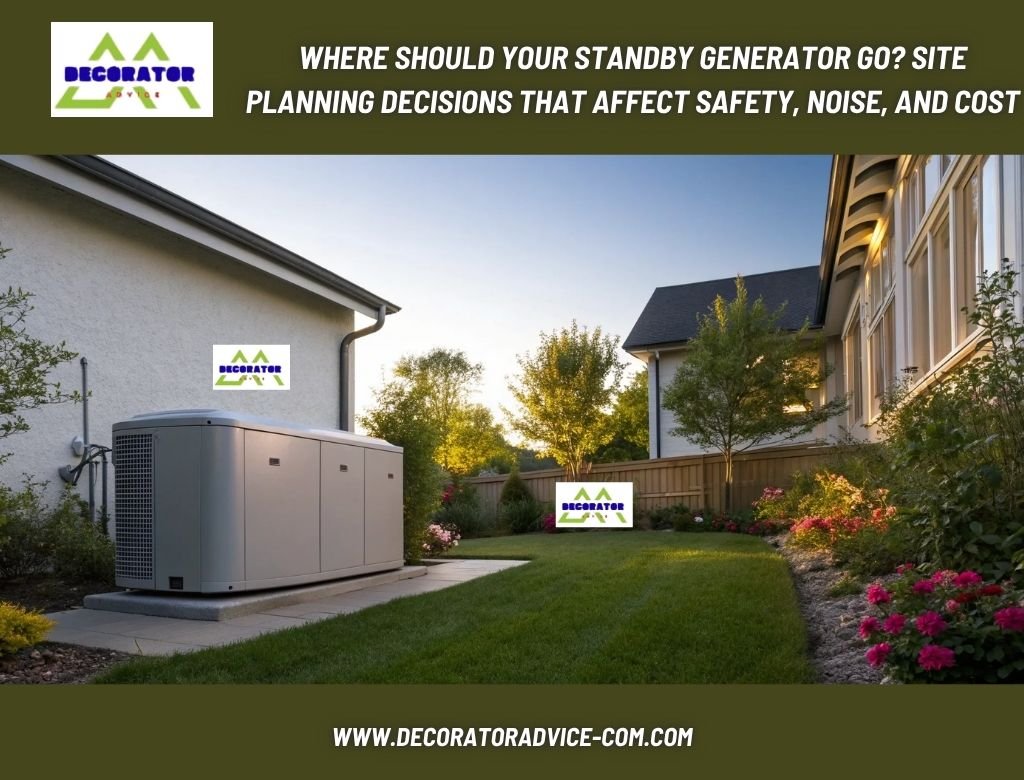
Choosing the right place for a standby generator is not just about finding an open spot beside the house. Site planning affects carbon monoxide safety, airflow through the enclosure, fuel pressure during startup, noise levels, trenching distances, and even long-term service access. A well-chosen location can minimize voltage drop to the automatic transfer switch, keep gas regulators within their working range, and protect the enclosure from flooding or snow drift. Poor placement can cause nuisance shutdowns, overheating, and neighbor complaints. This article walks through the specific installation constraints that matter most, then connects them to real-world trade-offs. If you are still early in your planning, use these principles to narrow down two or three viable locations on your property before seeking permits or scheduling an installation date.
Safety First: Exhaust, Airflow, and Service Clearance
Every generator needs unobstructed airflow through its intake louvers and a clear path for exhaust to disperse. Avoid corners where hot exhaust can rebound back into the enclosure, and never place a unit under a deck or in a partially enclosed alcove where carbon monoxide could accumulate. Position the exhaust outlet so it points away from doors, windows, and vents, and keep shrubs trimmed so they do not block cooling air or create a combustible surround. A simple test is to imagine leaves or snow drifting against the cabinet; if the louvers could be clogged, that spot needs rethinking. Elevating the unit on a stable pad above grade helps keep rain splash and pooling water out of the basepan and control compartment.
Leave room to work. Hinged lids must lift fully for filter and spark plug access, and removable side panels need space for oil changes, valve adjustments, and battery service. Crowding a generator into a tight recess makes routine maintenance difficult and emergency repairs slower. Many providers publish installation galleries that show workable clearances; reviewing those images can help you visualize what technicians actually need to access. For example, many homeowners study resources from providers, including a leader in standby generator installation | Destination, to see how crews stage automatic transfer switches, conduits, and pad locations on typical lots.
Fuel Supply: Pipe Sizing, Regulators, and Distance
Natural gas and propane systems must deliver enough volume at the right pressure while the engine cranks and loads ramp. Long runs of undersized pipe, too many tight elbows, or sharing a small branch with other appliances can starve the engine, causing hard starting, hunting, or shutdowns under load. A typical setup may include a dedicated line from the meter or tank, a sediment trap to catch debris, and a regulator or two staged to keep pressure within the generator’s specified range. Shorter, straighter runs with appropriately sized steel pipe or listed CSST reduce friction losses. The regulator’s vent must face a safe direction and stay above expected snow levels, or it can ice and restrict flow.
Placement choices affect fuel performance. If your gas meter sits on the far side of the house, a generator location close to the electrical service might double the fuel line length and increase pressure drop. In a rural scenario with a propane tank near a fence line, a mid-yard location may keep the line short but move the enclosure closer to a bedroom window, raising noise and exhaust concerns. The mistake to avoid is sizing the generator correctly while overlooking fuel line sizing and regulator capacity; an engine that trips on low fuel pressure under heavy load cancels the benefit of good electrical design.
The Electrical Path: Conduit Routes and the ATS
The generator’s output must reach an automatic transfer switch, which then connects to the service equipment or a managed loads panel. Long conduit runs increase material cost and can contribute to voltage drop when the generator carries heavy loads like well pumps or HVAC compressors. The best locations often align the unit with a straight, unobstructed trench path to the ATS and main panel, avoiding mature roots, patios, and driveways. Where burial is required, trench depth and backfill quality protect the conduit from future damage; keeping sweeps gentle helps later cable pulls. If the ATS is not service rated, planners must also accommodate an exterior disconnect, which takes space on the wall and influences where conduit can land.
Older homes can add complexity. If the main panel is in a detached garage, but the preferred generator site is behind the home to keep sound away from neighbors, the installation may require longer feeders or a subpanel solution to reduce run length. That trade-off weighs material and trenching cost against a quieter backyard and better exhaust orientation. Always account for bonding and grounding paths so that the neutral ground relationship remains correct at the service, avoiding objectionable current on metal raceways.
Noise and Vibration: Real World Ways to Keep It Quiet
Manufacturers list exercise and full-load sound ratings at a specified distance, but placement can matter as much as the dBA number. Hard surfaces like stucco and masonry reflect sound; placing the enclosure in a concave space between two walls can amplify perceived noise. Screening with a solid fence that has airflow gaps helps, as do absorptive barriers if allowed by code and manufacturer guidance. Locating the unit behind a garage or near a less sensitive room can keep bedroom sound levels down. Aim exhaust and intake faces away from main outdoor living areas when possible.
Vibration control starts with the pad. A poured concrete pad or a listed composite pad installed on compacted, level gravel resists settling and reduces transmitted vibration. In freeze-thaw climates, a stable base prevents frost heave from twisting the cabinet, which can misalign louvers and crack conduit fittings. Some enclosures include isolation mounts that work best on firm, flat foundations. Certain homeowner associations set setback and screening requirements; confirming these early prevents last-minute relocations that might compromise airflow or fuel routing.
Weather and Drainage: Keep Water and Snow Away
Water is the enemy of reliable standby power. Avoid low spots that pond after rain or where downspouts discharge. Gentle grading and a crushed stone perimeter help shed water away from the pad. In snowy regions, consider wind direction and drift patterns so that snow does not pile against louvers or bury a regulator vent. If the site is in a flood-prone area, elevating the pad above historical high water marks and routing conduit and gas lines with watertight transitions reduces risk. In coastal environments, salt spray accelerates corrosion; enclosures with corrosion-resistant finishes and stainless fasteners hold up better when positioned out of the direct wind path.
Plan for upkeep around the site. Keep vegetation trimmed back so air inlets remain clear, and remove leaves that collect behind the cabinet after fall storms. Confirm that the weekly exercise cycle runs without obstructions, and watch for rodent or insect nests inside the basepan that can block cooling air or chew on low-voltage wiring. After the first hard winter, check that the pad remains level; shimming or releveling early prevents binding lids, misfitting side panels, and strained conduit connections during the next season.
Permits, Utilities, and Installation Sequencing
Permits often require a gas line diagram, generator specs, and a site plan showing clearances from openings and property lines. Gas utilities may need to upsize a meter or verify delivery pressure at the regulator under peak conditions, while propane suppliers sometimes ask for tank setback confirmations. Electrical permits can cover the ATS, any disconnect, and grounding changes. Some communities include noise limits measured at the property line, so proposed locations near neighbors may need a sound plan that documents barriers or distances.
Good sequencing limits downtime. Crews typically set and level the pad, pull conduits, and route fuel piping before scheduling the ATS changeover. Coordinating 811 utility locates, trenching, and inspection windows keeps the project moving. If the installation requires turning off power to replace a service panel or ATS, arrange it when sensitive equipment is safe to shut down and refrigeration loads are low. Clear documentation of as-built conduit paths and shutoff valve locations helps future technicians service the system without exploratory digging.
Putting a standby generator in the right spot takes more than a tape measure. Airflow through the louvers, exhaust direction, gas line sizing, trench paths to the automatic transfer switch, and noise behavior against nearby surfaces all interact. When you compare potential locations, sketch the fuel and electrical routes, note which rooms are closest, and ask how weather and landscaping will change around the cabinet over time. A thoughtful plan reduces surprises, keeps the engine supplied and cooled when loads surge, and makes home maintenance straightforward years down the road. Careful site selection is the quiet foundation of a reliable standby system.